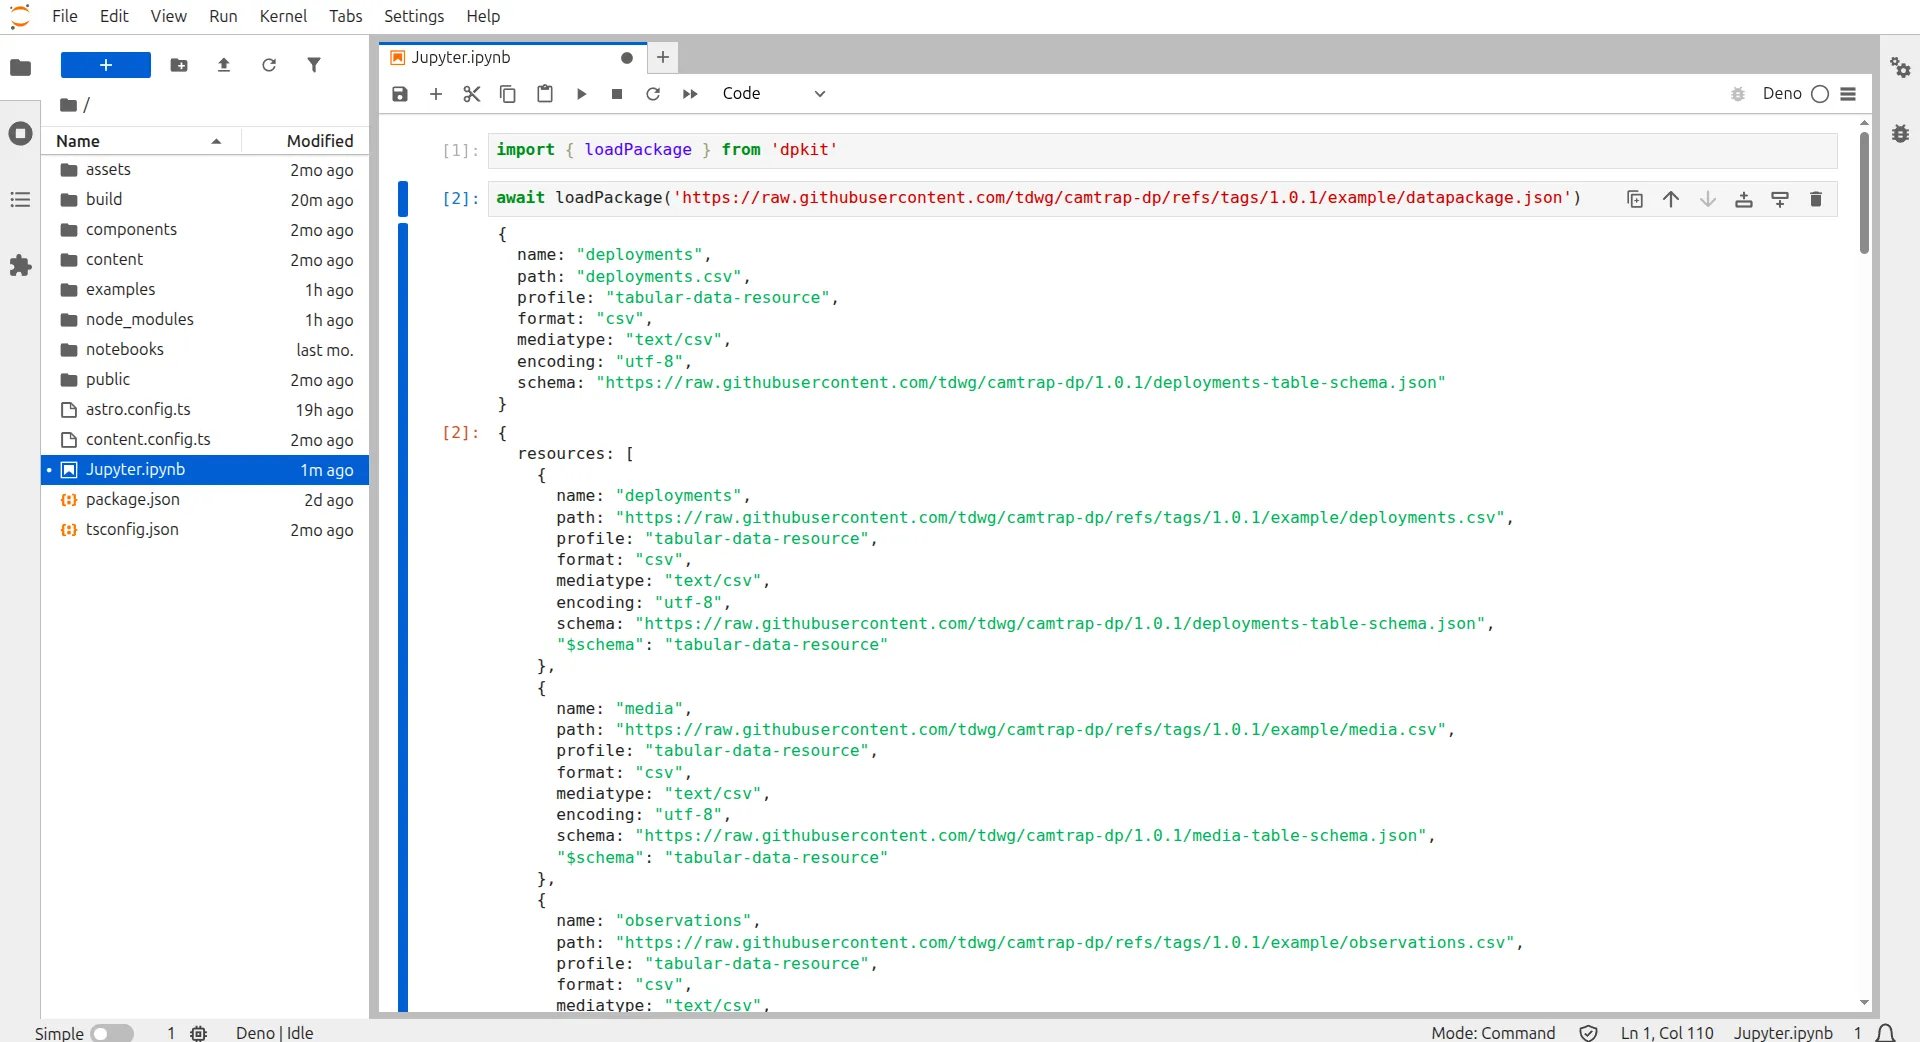
Using dpkit in Jupyter Notebooks
For data scientists and data engineers, Jupyter Notebooks provide a powerful and flexible environment for exploring, visualizing, and analyzing data.
Installation
Section titled “Installation”-
Install Jupyter:
pip install jupyterlab- Installs Jupyter Notebook, a web-based interactive computing environment for data science and data engineering. You can user another UI such as Jupyter CLI or Jupyter Desktop. -
Install Deno:
curl -fsSL https://deno.land/install.sh | sh- Downloads and installs the Deno runtime required for TypeScript execution in Jupyter notebooks. Visit Deno for official documentation. -
Install Deno Jupyter Kernel:
deno jupyter --install- Sets up the Deno kernel for Jupyter, enabling TypeScript support within notebooks. -
Activate Deno Jupyter Kernel:
deno jupyter --unstable- Enables the Deno kernel for Jupyter notebook usage.
-
Run Jupyter Notebooks:
jupyter-lab- Launches the Jupyter Notebook server in the current working directory, which allows you to create and run Jupyter notebooks. -
Select Deno Kernel in Notebook: Choose the Deno kernel from your notebook’s kernel selection menu. VSCode users may need to install the default Jupyter kernel extensions.


